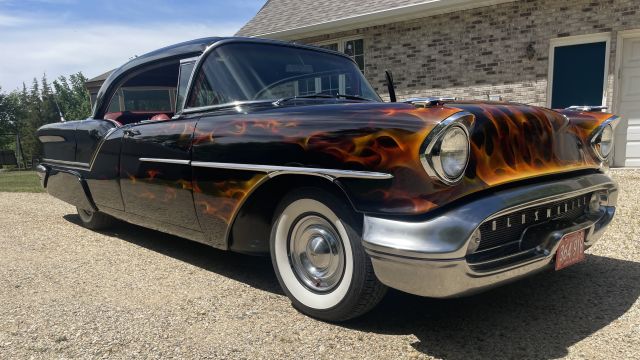
Photography Guide

Studies show vehicles are 90% more likely to sell with many high quality photos.

Download our printable photo checklist below!

Your browser does not support PDFs. Click here to download it instead.

📄 Download Photo Checklist (PDF)

Step 1: Prepare Your Vehicle for Auction

A spotless car communicates respect for the buyer and seriousness as a seller.
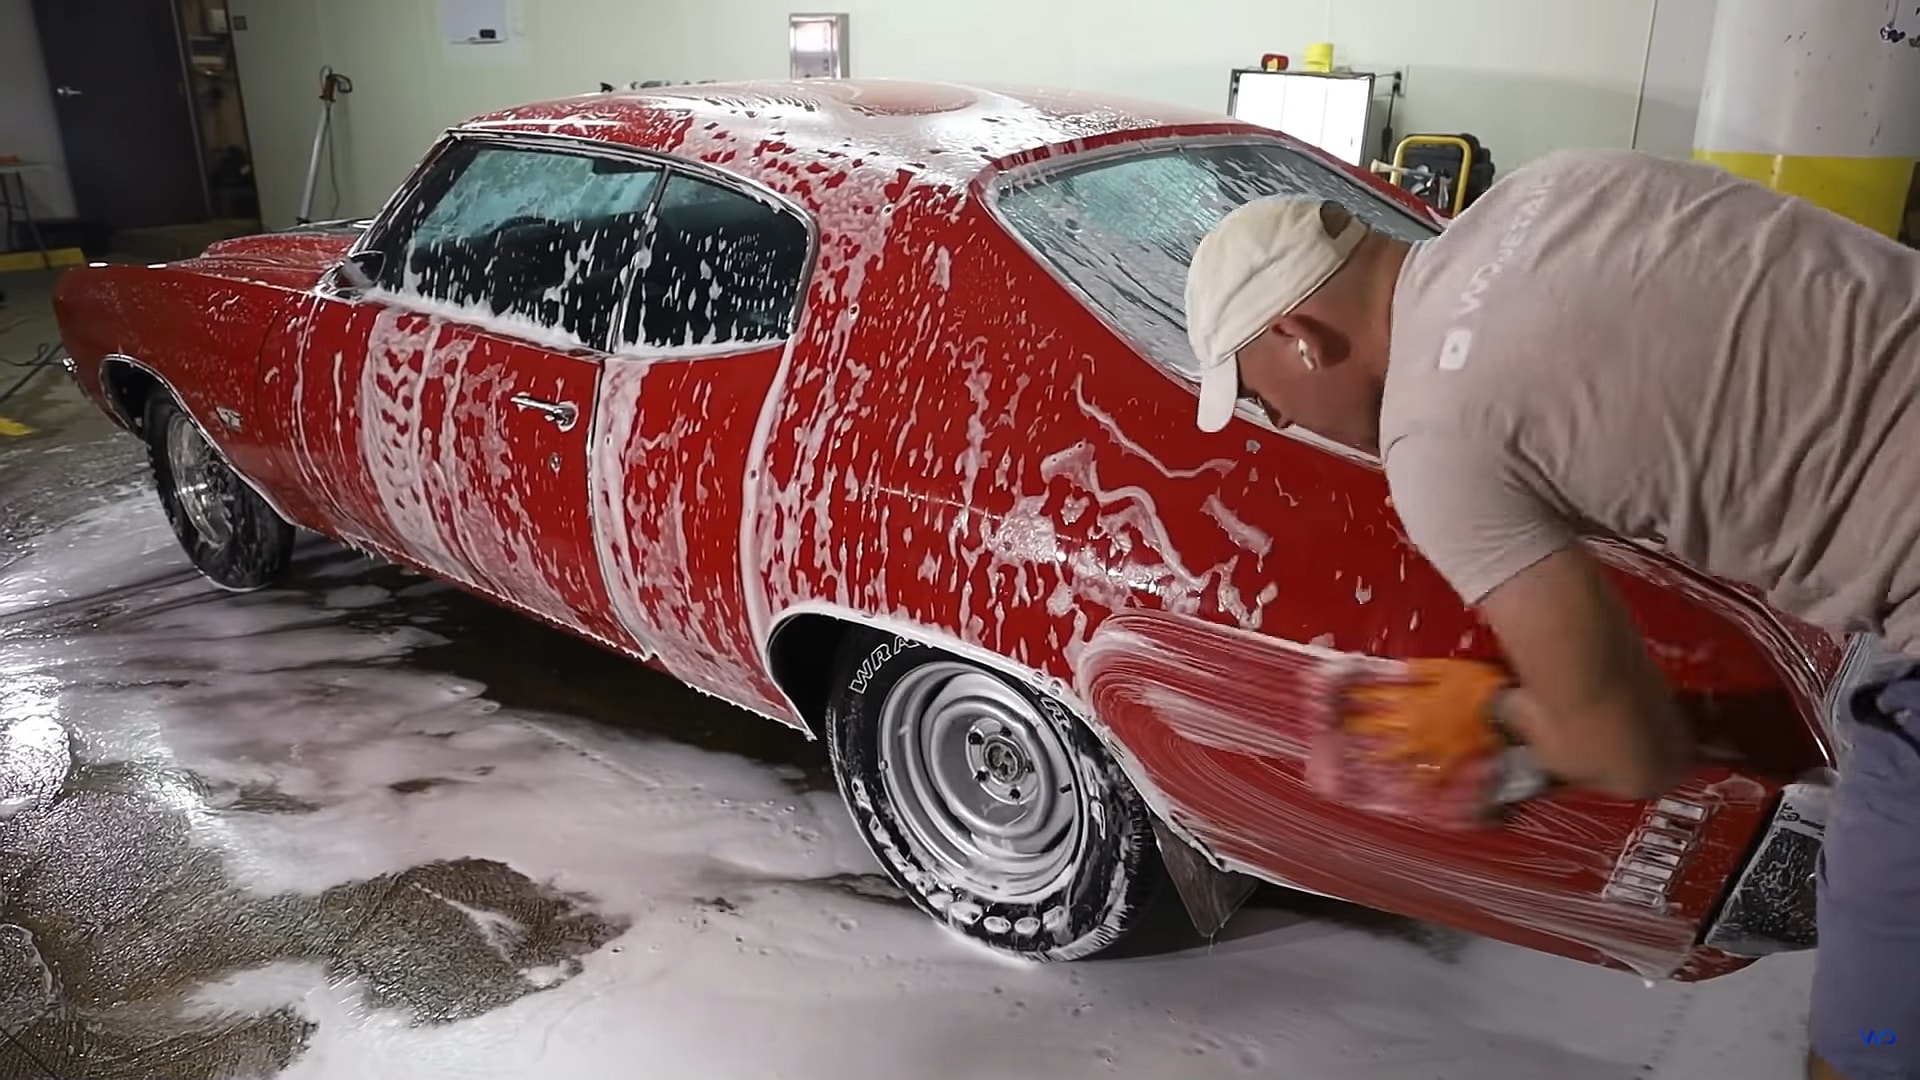
1970 Chevrolet Chevelle Gets First Wash in 25 Years, Morphs Into Stunning Survivor - autoevolution

Clean Your Car: Preparation Fundamentals

  • Professional Detailing: Seriously consider retaining a professional detailer to achieve showroom quality.
  • Shaded Cleaning: Perform all washing and detailing activities out of direct sunlight to prevent water spots and premature drying.
  • De-Clutter: Completely remove all personal possessions, trash, and unnecessary items from the cabin and trunk.

Exterior Recommendations

  • Spotless Drying: Utilize a detail spray or quick wax product during the drying process to minimize water spots and enhance shine.
  • Detail Focus: Dedicate extra effort to cleaning complex areas like the wheels, tires, and all glass surfaces.
  • Window Clarity: Invest in specific glass-cleaning towels to ensure a perfectly streak-free finish on all windows.

Interior Recommendations

  • Deep Vacuum: Thoroughly vacuum all floor mats and the underlying carpet to remove all debris.
  • Glass Inside and Out: Clean all interior glass surfaces meticulously to eliminate streaks and smudges.
  • Material Protection: Avoid using oil- or silicone-based cleaning products, as they can leave a greasy, unnatural sheen in the photos.

Step 2 — Select the Ideal Location

When it’s time to take great photos of your vehicle, the background should be simple, neutral, and flattering to your vehicle. Avoid backgrounds with too much activity going on, other vehicles, or poor contrast environments to your vehicle’s paint color. Your vehicle should really pop from the background!

Photo Location Tips

  • Outdoor Preference: Choose a high-quality outdoor setting for optimal lighting and clarity.
  • Neutral Background: Select a location that is unpopulated and features a simple, non-distracting backdrop.
  • Space is Key: Ensure you have enough open space to stand back comfortably from the car.
  • Even Illumination: Find an area with consistent, uniform lighting that avoids casting harsh, dark shadows on the vehicle.

Step 3 — Execute the Photo and Video Shoot

Follow these best practices to ensure your visual content is professional and comprehensive. Expect to take well over 100 photos for your listing. The more adequate photos you provide upon submission, the quicker we can get your car to live auction!

General Photography Tips

  • Aspect Ratio: Use a standard camera aspect ratio, such as 3:2 or 4:3, for best results. When using any device, shoot landscape orientation and not portrait.
  • Photo Quality: Use a nice digital camera or smartphone that can take HD photos. Pixelated or fuzzy images will not be accepted.
  • Accepted File Formats: Currently we only accept .jpg or .jpeg and .HEIC image file formats.
    • iPhone users: Many new Apple iPhones capture photos in .HEIC format by default. We accept this format but images can take longer to process in our uploader. You can change your file format to .jpeg in your iPhone’s Settings app. Go to Camera>Formats and under Camera Capture, choose “Most Compatible” instead of “High Efficiency.” This will save your future photos as .jpeg files.
    • Digital camera users: be sure to set your file format settings to .jpeg when shooting. Consult your camera’s operating manual to locate these settings.
  • Optimal Timing: Schedule your shoot for the “Golden Hour”—either one hour after sunrise or one hour before sunset—for the warmest, most flattering light. Avoid shooting in dark or poorly lit environments that cast shadows and reduce your vehicle’s contrast from the background.
  • Equipment Prep: Always ensure your camera or phone lens is completely clean before shooting.
  • No Photoshopping: No black and white, color enhanced or photoshopped photos. Use only natural photographs with zero editing.
  • AI Zero Tolerance Policy: AI generated, edited or enhanced photos of any kind will result in an instant rejection and lifetime ban from our platform. Do not use any photo editing or AI software to enhance the vehicle’s appearance or to hide flaws or imperfections.

Exterior Shot Tips

  • Proper Distance: Stand approximately 8 to 10 feet away from the car to capture 360 degree full-body shots without distortion or cropping.
  • Centering: Keep the vehicle perfectly centered within the frame when shooting.
  • Closeups: Take closeup photos of any important details of the vehicle’s exterior.
  • Flaw Documentation: Take explicit close-up photos of all minor details and any existing flaws, such as paint chips, minor dents, or scratches.
  • Engine Bay & Trunk: Take several wide and closeup shots of the vehicle’s engine bay and the trunk.

Interior Shot Tips

  • Natural Light: Maximize the use of natural daylight to properly expose the interior cabin.
  • Broad View: Frame your shots to display as much of the interior space and features as possible in each photo.

Mechanical & Underbody Tips

  • Engine Off: While photographing the engine bay and undercarriage, ensure the engine is completely off for safety and clarity.
  • Zoom Coverage: Capture both wide, zoomed-out photos and close-up, zoomed-in shots of mechanical components.
  • Underbody Detail: Aim your camera or phone beneath the vehicle—using the flash function—to capture the chassis, suspension, and exhaust components. For best results, use a 2 post lift when taking underbody photos.

Video Tips

  • It’s recommended that you provide three video clips of the vehicle and upload them to YouTube as unlisted. You can then provide the video links when you submit your vehicle, which we will add to your public listing. Here are the 3 videos we recommend you capture:
    • Cold Start Confirmation: During the cold-start video, physically touch the engine to prove it is cold before turning the ignition. This helps establish that the vehicle can start up cold under its own power.
    • Running Walk-Around: Film the walk-around with the engine running to showcase the exhaust note and vehicle stance. This also helps prove to buyers that the vehicle runs under its own power.
    • Ridealong Demonstration: Safely film yourself (or have a cameraperson sit next to you) while operating and driving the vehicle on roads. Showcase any special operations or switches that are essential to the vehicle’s functions.

Auctions Ending Soon

21 hours 42 min $46,500

1948 Dodge Power Wagon

This frame-off restored 1948 Dodge Power Wagon features a 12-volt conversion, added power steering, and a custom light blue finish over a $236k build!

1 day 21 hours $10,500

1979 Chevrolet Camaro Z/28

This 1979 Chevrolet Camaro Z/28 features a bored .030-over 350ci V8, TH400 automatic with a shift kit, 3.55 Posi rear end, striking black and white…

2 days 21 hours $95,000

650-HP Gen 3 HEMI 1970 Dodge Charger Restomod

This 1970 Dodge Charger restomod packs a 650-hp 426ci Gen 3 HEMI V8, Tremec TKX 5-speed manual, QA1 coilover suspension, 4-wheel Wilwood disc brakes, Vintage…

5 days 21 hours $21,000

Vortec 5.7L-Powered 1969 Chevrolet Camaro

This 1969 Chevrolet Camaro features a GM Vortec 5.7L V8 engine, 700R4 4-speed overdrive automatic, Hotchkis sway bar, power front disc brakes, cowl hood, and…

6 days 21 hours No bids yet

1969 Chevrolet C10

This frame-off rebuilt 1969 Chevrolet C10 Longbed features a lowered stance, crate 350 V8, TH350 automatic with shift kit, Old Air Products A/C, power driver…