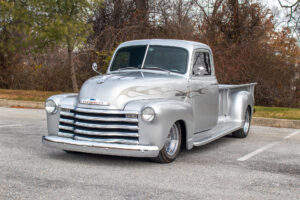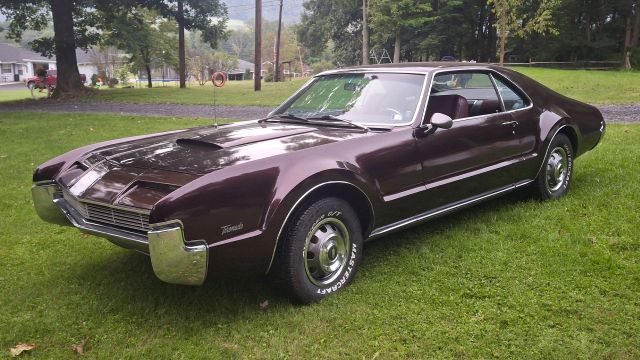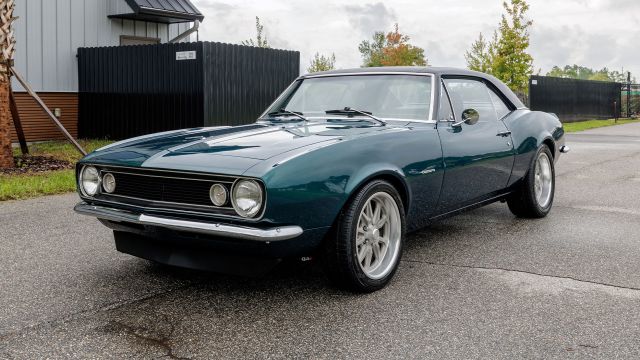
There’s a tragedy that unfolds in the lives of many hot rodders. It’s a trap, easy to fall into if you don’t have a real plan in place the moment you decide to turn your classic into a modern machine. We’ve all had that one friend who immediately dumps all of their money into a badass motor, only to have their project stall out and never be completed. You see, they’ve made the mistake of starting from front to back when they really needed to go ground up.
Classic cars vary widely across the project spectrum. You might have a Chevelle that’s a complete basket case, only a body with rotten rear quarters, or maybe you’re building a Plymouth ‘Cuda that runs and drives but still doesn’t meet your performance needs or adrenaline-inducing standards. To build that restomod that handles like a champ, hauls major ass, and can comfortably cruise at 80 mphs without blowing a head gasket, follow this nine-phase blueprint to build the car of your dreams.
Phase 1: The Teardown and Firm Your Foundation
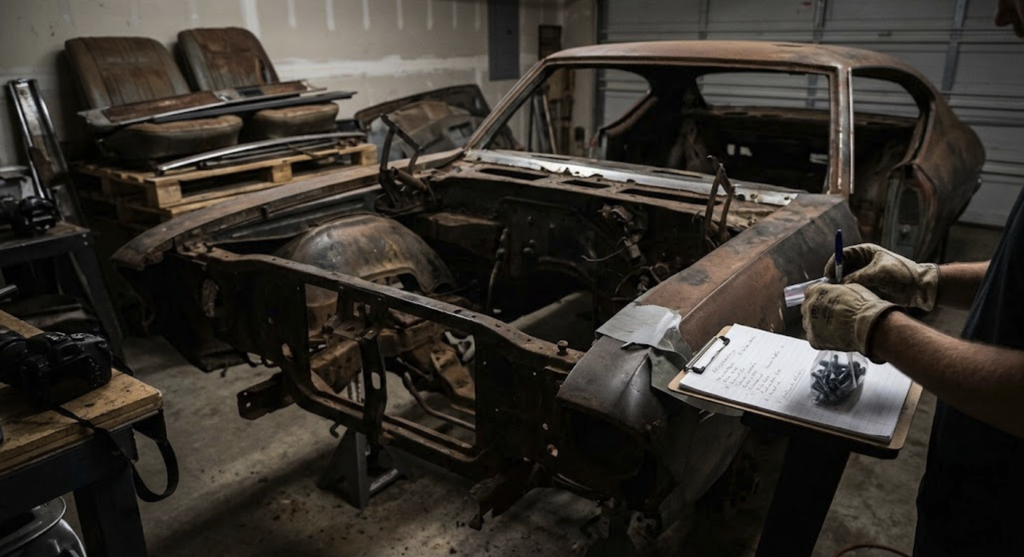
If you’re like me, and probably any hot rodder for that matter, the teardown is one of the funnest parts! It’s the moment when you take that first step and declare that this is my project, my machine, and my dream. Then you go to town and really dig into what’s there and what’s really left of your beloved car.
- Take Photos: These are memories that you’re going to look back on and smile. So make sure you’ve got a camera handy as you tear into your project. It might be to share someday with your grandkids, for the scrapbook at car shows, or to help you remember how something went back together. Your camera isn’t just a tool; it’s your friend.
- Tear that car apart: Buy a bunch of bags, loads of markers, paper, and prepare to keep track of all your nuts and bolts. Then, rip out that interior, keep whatever treasure you find as a memento on your wall, and tear that car apart. Catalog your parts and decide what to keep and what to toss or sell at the local swap meet.
- Blast or Sand Away: Clean out the body by either sanding (a lot of work) or spraying the car with a sand or dustless blaster. Find whatever method best meets your needs to get rid of all existing paint, body filler, and rust because we all know every car is full of one, if not all three.
- Assess the frame or uni-body: A soft or rusted-out chassis or frame is the enemy of performance and reliability. After you’ve completed the teardown, it’s time to either get the body on in the air to inspect torque boxes, floorboards, or frame rails. If you’re rebuilding a full frame car, look for rot and misalignment. If there’s rot in any of these areas, the very first thing to do is repair it.
- Firewall and Floorpan Modifications or Repairs: After thoroughly assessing your frame, chassis, and body, it’s time to begin any modifications or rust repairs you have in mind. Cut out and replace the rot in these integral parts to ensure that your body is stiff and ready to meet the chassis or frame. And then powder coat or apply a rust inhibitor to ensure your investment lasts for decades!
Phase 2: Suspension, Steering and Dialing the Geometry
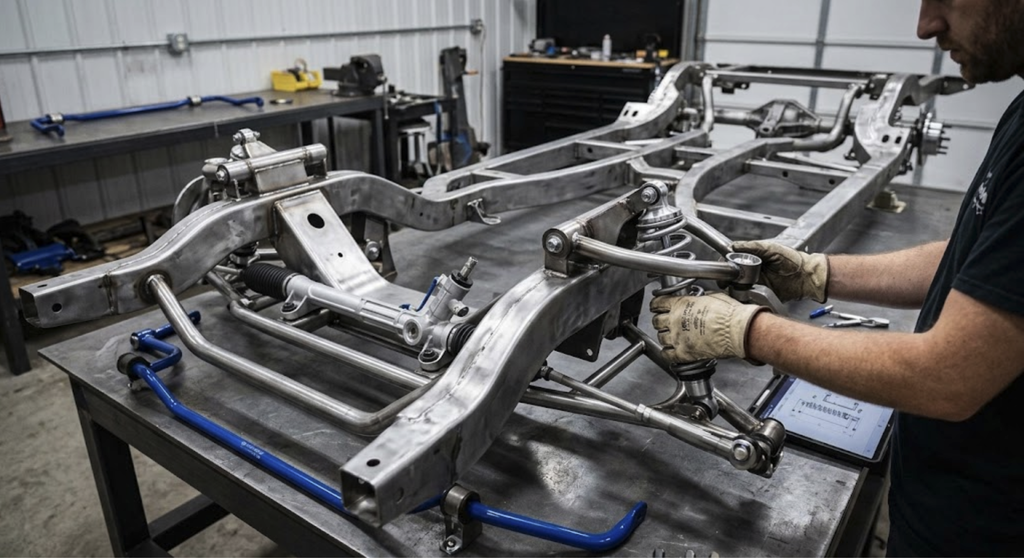
Remember, we’re working from the ground up. This is when your plan really begins to take shape, and you get to order some go-fast goodies!
- Stance It: With your frame out or chassis torn apart, now is the time to start building the foundation of your ride. Install tubular control arms, four-link suspensions, sway bars, rack and pinions, anything that will dictate your car’s future stance and clearance.
- Prep for your drivetrain: Ensuring your suspension is dialed in also means prepping the drivetrain. Are your headers going to clear your steering shaft? Is the oil pan too close to the ground? Is the motor and trans at the correct angle on the frame? Take the time to make sure that the drivetrain is snug in the frame and ready to meet the body soon.
- Protect the Frame: Now that our suspension system is mounted and any customization work is complete, remove all suspension parts and have the frame either painted or powder-coatedd. This will ensure the longevity of your investment and also act as a rust inhibitor.
- Reassembly and Body Fitment: Once your frame returns from powder coating or painting, it’s time to reassemble the suspension. Get that sexy beast on the ground and then install the body for more fitting. Spoiler alert: yes, we’re going to take it off for more body work and paint.
Phase 3: Brakes, Wheels and Tires
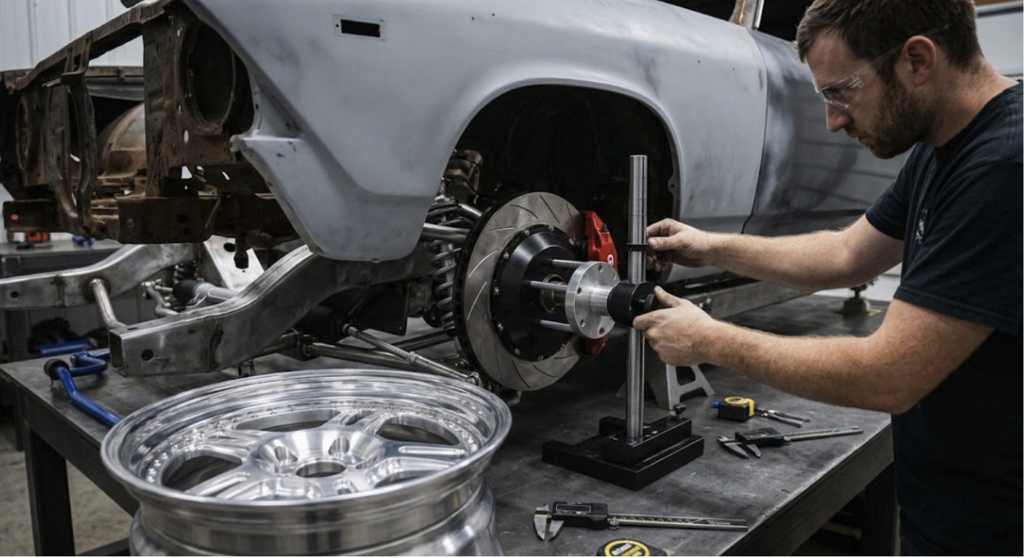
Aside from color, there’s probably nothing more consequential for changing the aesthetic of your ride than the brakes, wheels,, and tires package! So we must dial it in right the first time.
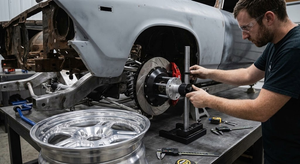
- Braking System: Brakes are among the most critical components to get right; after all, they are going to bring you and your car home safely. But many performance brake kits require specific wheel diameters and backspacing.
- Measure for wheels: Since your suspension kit is now in place, the the body is installed (for now), and the brakes are mounted, it’s time to measure for your wheels and tires. Make sure you’re using the right tools and watching copious amounts of YouTube videos to ensure you get the best-fitting wheels and tires possible.
Phase 4: Drivetrain
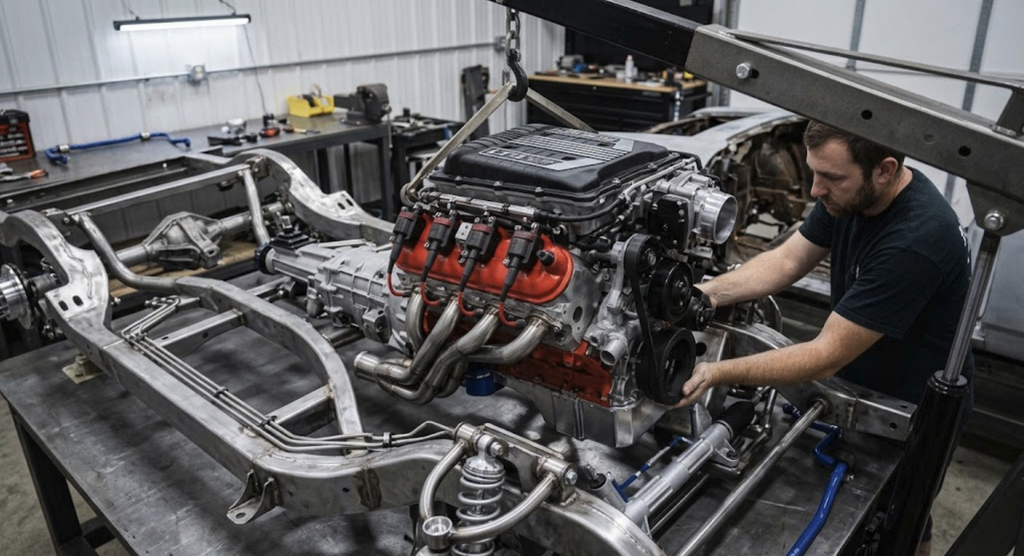
For every builder, there is a moment that really gets the heart pounding and makes you love what you’re building even more. For some people, that’s right out of the gate, while tearing the car apart. For others, it’s polishing that beautiful paint job as she’s about to come to life. Personally, for me, it’s always been the moment that I install my motor and trans into the frame.
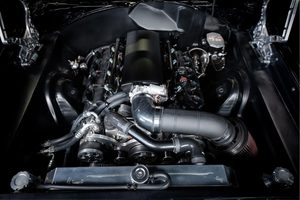
- A New Life: Install whatever motor you’re dropping into your restomod. Whether it’s a modern V8, a classic big block, or hell, maybe it’s a 2JZ, this is the moment! Like a heart surgeon reviving your car with new life, does it get any better than this?
- Mock up the overdrive: Many new transmission kits will now work with your floorboard. But in case you’re stuffing six gears into your tunnel, this is the time to mark, cut, and weld in a new trans hump to fit your overdrive tranny.
- Plumbing and Cooling: Install all accessories on the front of your motor,, including all cooling and A/C components. If you’re running A/C and you want a clean engine bay, now is the time to plumb all of your hoses and make any modifications to the bay.
Phase 5: Let her rip!
- OPTIONAL: If you wanna get in your beast and run it for a test drive before disassembly, feel free to wire it up, rig a fuel sending unit, and let it rip! Just know, anything you install will have to be removed in the following phases.
- Why You Should: Bleed the brakes, tune the transmission shifting, dial in EFI maps, check for fluid leaks, and work out rattles. Fixing an oil leak or clearance rub over a fresh $20,000 paint job is heartbreaking.
Phase 6: Body, Paint and Glass
- Pre-fit panels: Completely assemble the car, line up all panels, close and fill gaps on all fenders, doors and hood. Any wheel tubs would have been decided on back in phase 3, but if you’ve had a change of heart, now is the time to pull out the grinder and go to work!
- Disassemble: Your second time tearing your car apart, only now it’s almost to the finish line. All those sleepless nights are paying off. Remove all body panels and any interior parts, tape off the drivetrain, and get ready to lay down some color!
- Bring her to life: Now is the time to see your project come to life! Start by spraying your jambs, engine bay, and the underside of the car,, then spray each panel individually. This ensures that nothing is missed.
- Final Assembly: After your glorious paint job is completed, reassemble the car very carefully. Snagging a bolt on a freshly painted door or fender just plain sucks! Don’t be afraid to go overboard with masking tape to protect edges and other surfaces to ensure your car is safe.
- Glass, Weatherstripping & Trim: Install all weatherstripping along the body to keep moisture where it needs to be, outside. I prefer to install any body trim alongside the car before the glass goes in, so your windows don’t get in the way. Then, install all of your glass and chrome trim around the front and rear windshields.
Phase 8: Electrical, Sound Deadening, Interior
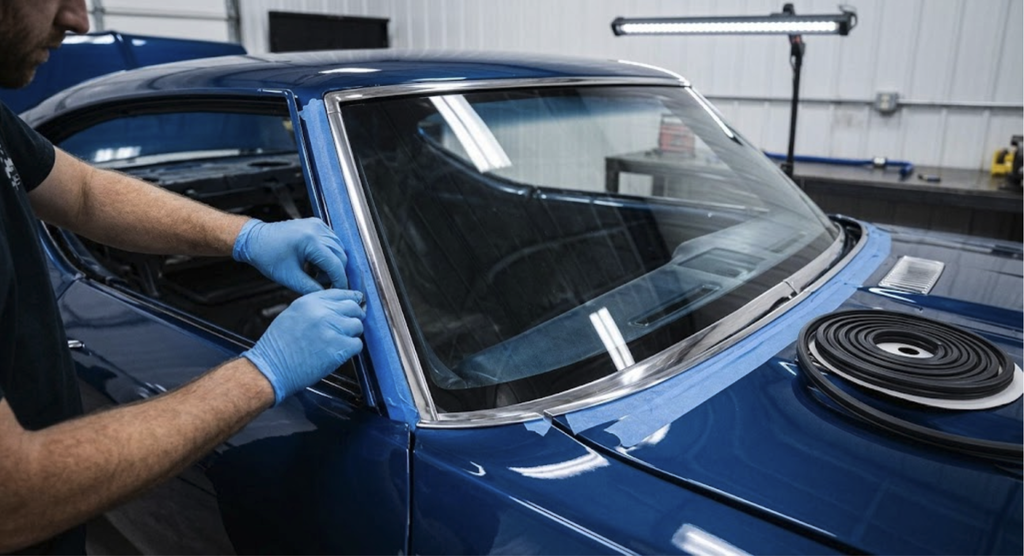
You’re almost there! At this point, you’re only a few beers and a weekend away from being done! Years and thousands of dollars later, you’re finally in the homestretch.
- Wired Up: Reinstall all wiring, dash, radio, headlights, taillights, and any marker lights. Make sure everything works!
- Sound Deadener: A sound deadener is a must-have for a restomod. Keep noise pointed at your neighbors’ windows and make sure you’re comfortable inside. Install on the roof, doors, and of course the floors. Keep going until your heart’s content.
- Interior: Unroll your carpet, slide in your rear bench seat, mount your front buckets and door panels, then install that shifter boot. And by god, you’re done!
Phase 9: Break her in!
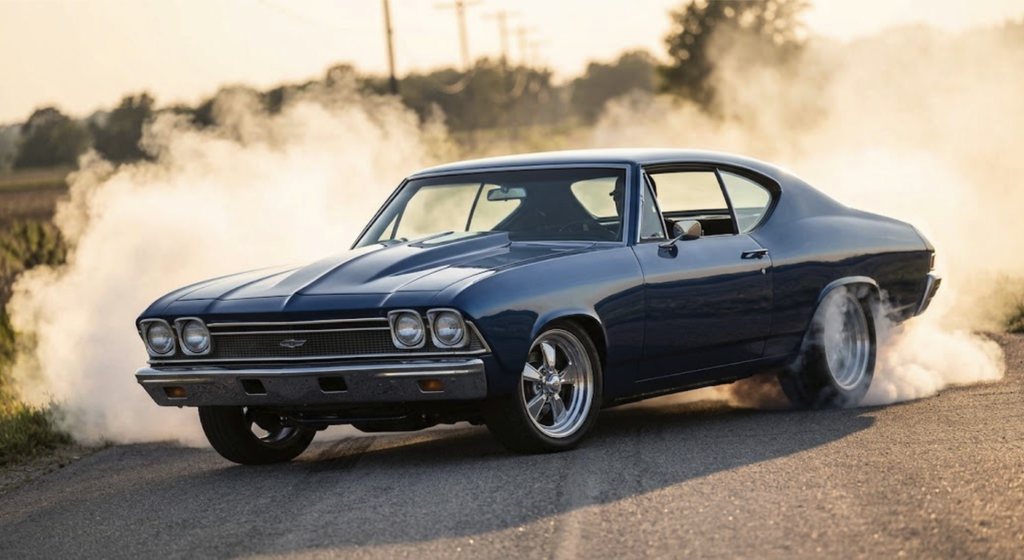
- Lay rubber: Anywhere and everywhere.
- Piss off the neighbors: All of ‘em.
- Feel alive again: Cruising and l-i-v-i-n ’
- Crack some beers and toast the ones who helped you get to where you are.